The house has changed SO much! I thought it would be fun to look back at building the house and get more in-depth about the build, and how it all began.
Finding the Ideal Location and Level Ground
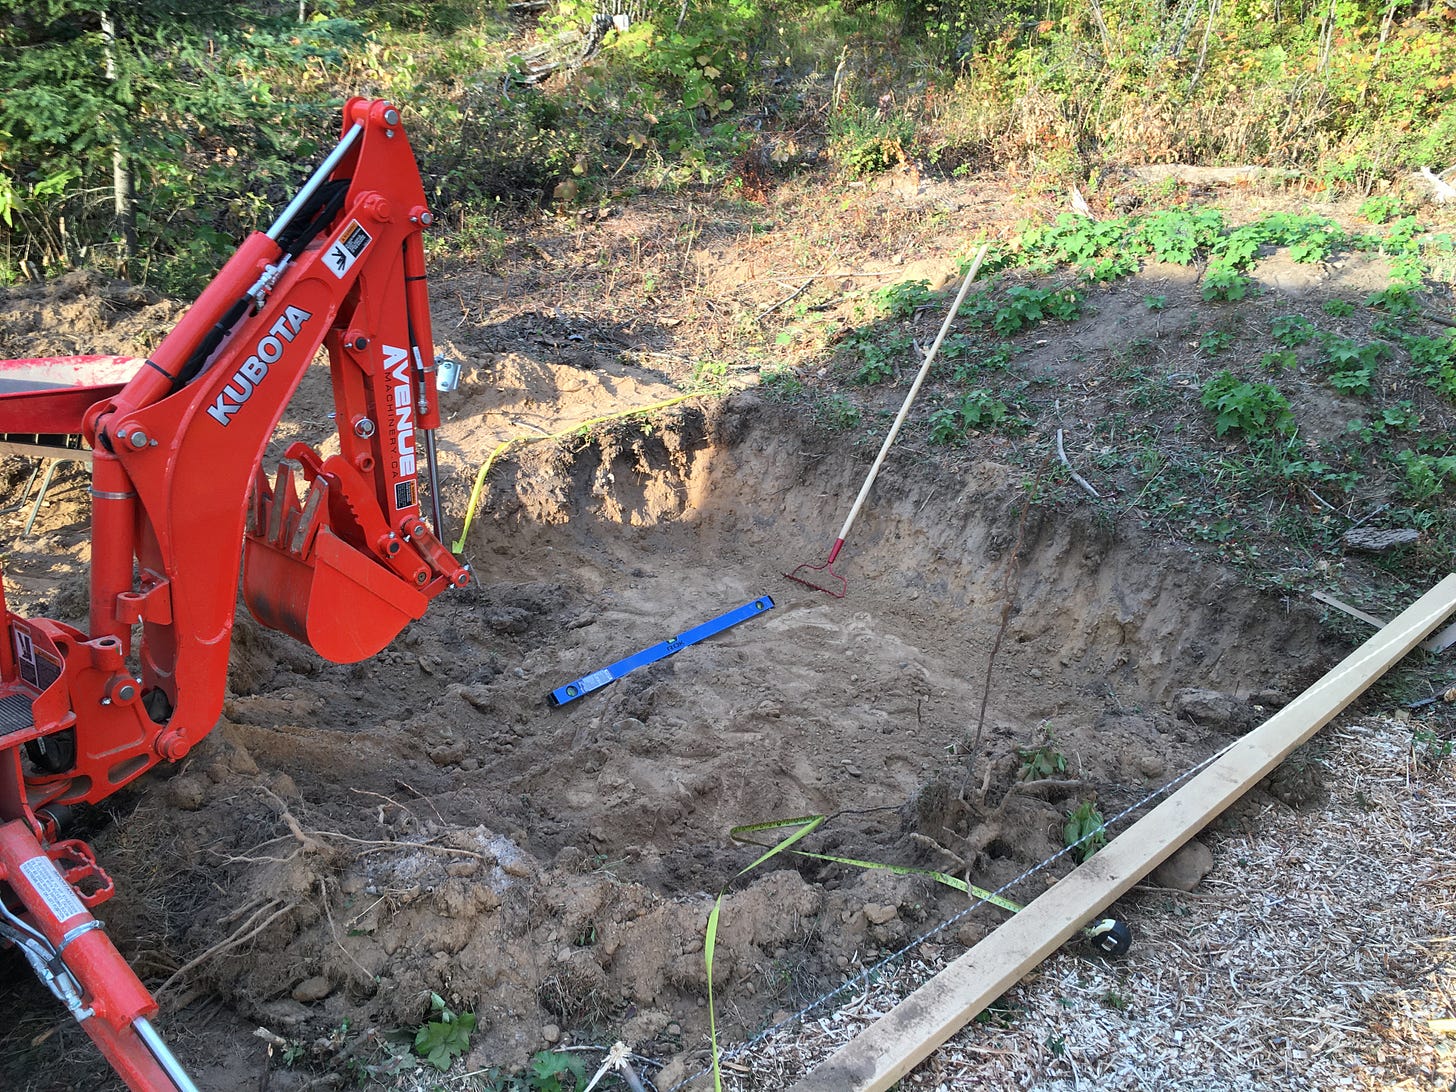
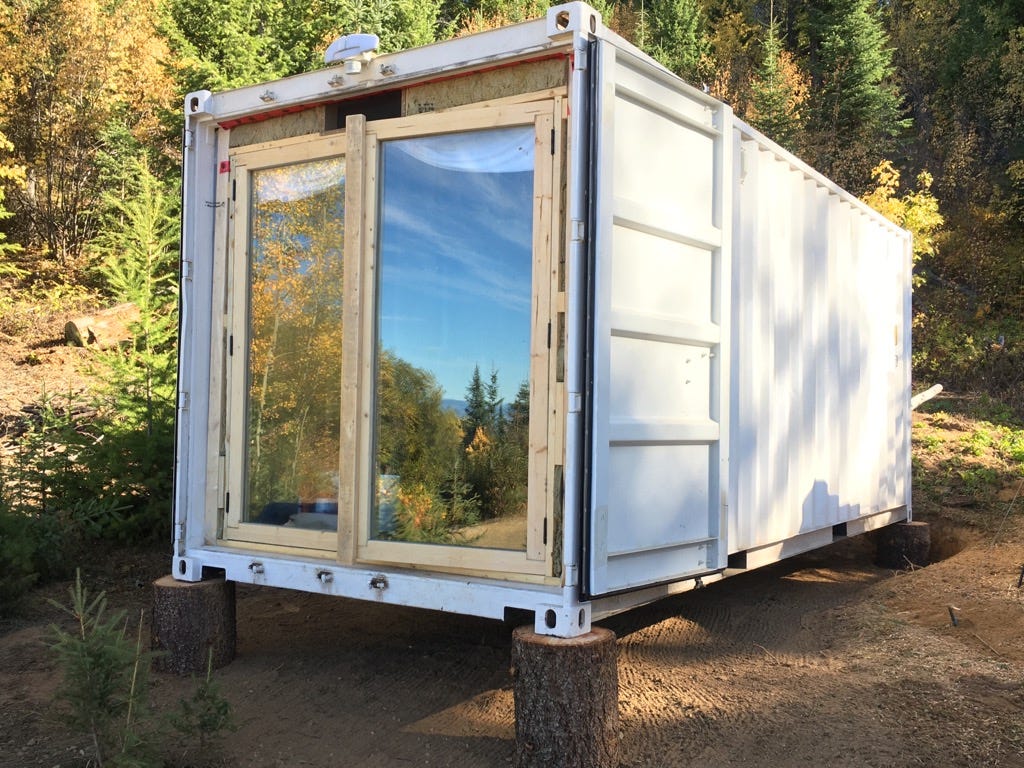
The first step was to decide where we wanted to put the 20-foot shipping container. I wanted the container doors to face southwest to catch the afternoon sun and sunsets. The property is 50+ acres, however most of it is very wild and steep so the container could only be delivered to one place. Luckily, it’s an excellent spot! We used the backhoe to make a relatively flat area facing southwest.
Moving the Container into Place.
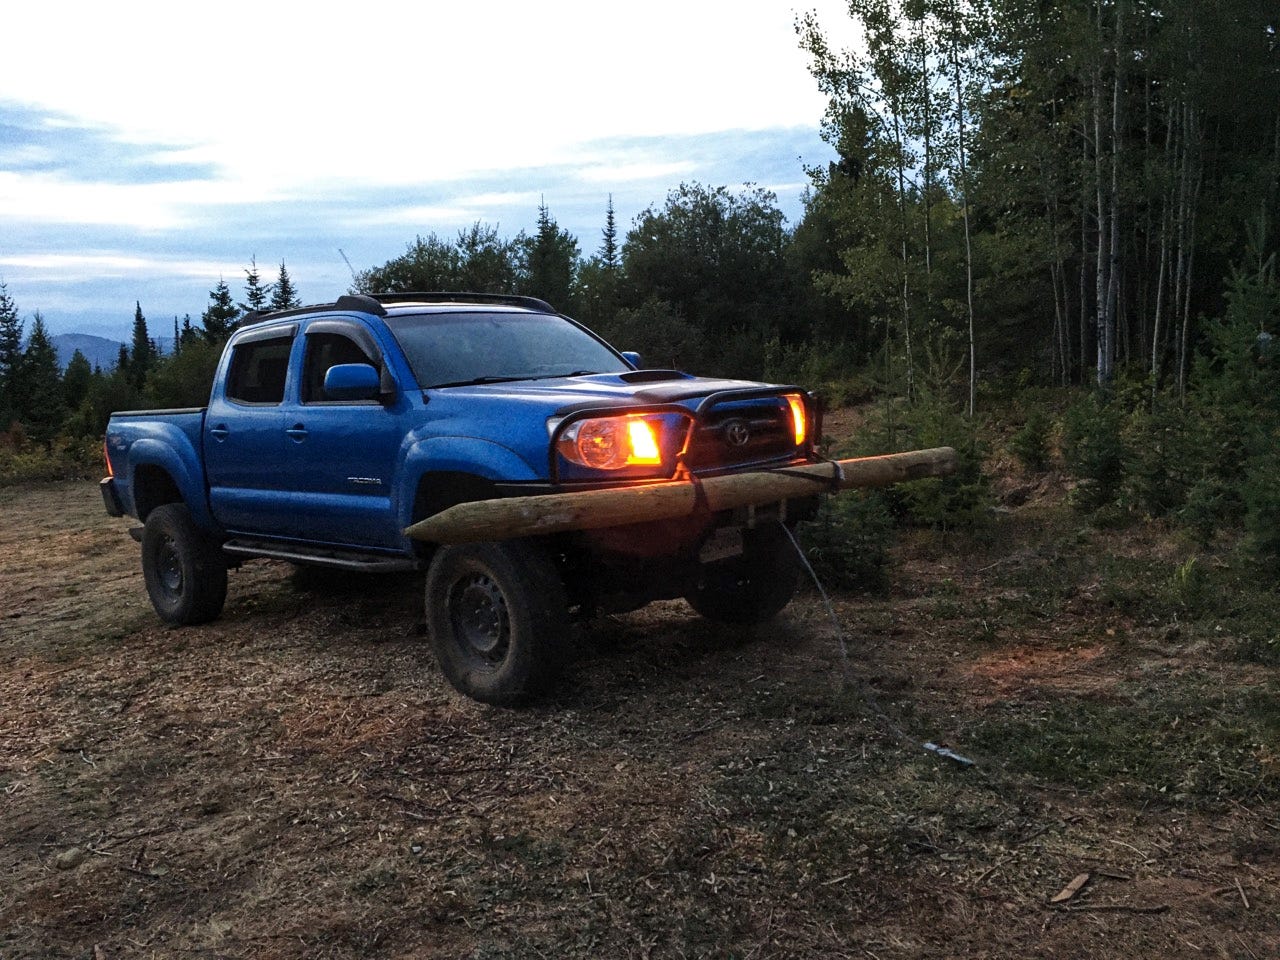
We needed to move it 40-50 feet uphill. It’s commonplace to use round logs or fence posts like rollers under shipping containers. Since it weighs nearly 5,000 lbs, it took a few tries. The little tractor couldn’t move it at all. Pulling the container with the truck nearly worked, however the only place to pull from was very soft and steep ground and we nearly flipped the truck! After some time and patience, pushing it with the Tacoma was the winning technique.
Framing and Insulating
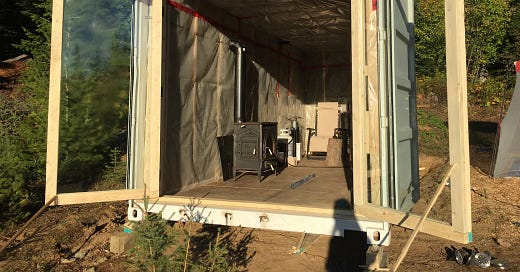
In order to insulate and build interior walls I framed the inside. Minimally, since the container has tons of structural strength. I used 2x4’s on 24-inch centres and used R14 Rockwool, also known as ‘Mineral Wool’ for the walls and ceiling. The steel walls and thick paint on the container have a slight R-value. What’s really awesome about the container is that there is absolutely no draft. Even though R14 seems too thin, it’s been amazingly warm.
Unpopular opinion - I strongly dislike spray foam. It’s toxic a/f. Burns, rots and in my opinion, promotes moisture issues. I can’t see why it’s so popular. Do your own research about spray foam vs mineral wool.
Interior Walls and Vapour Barrier
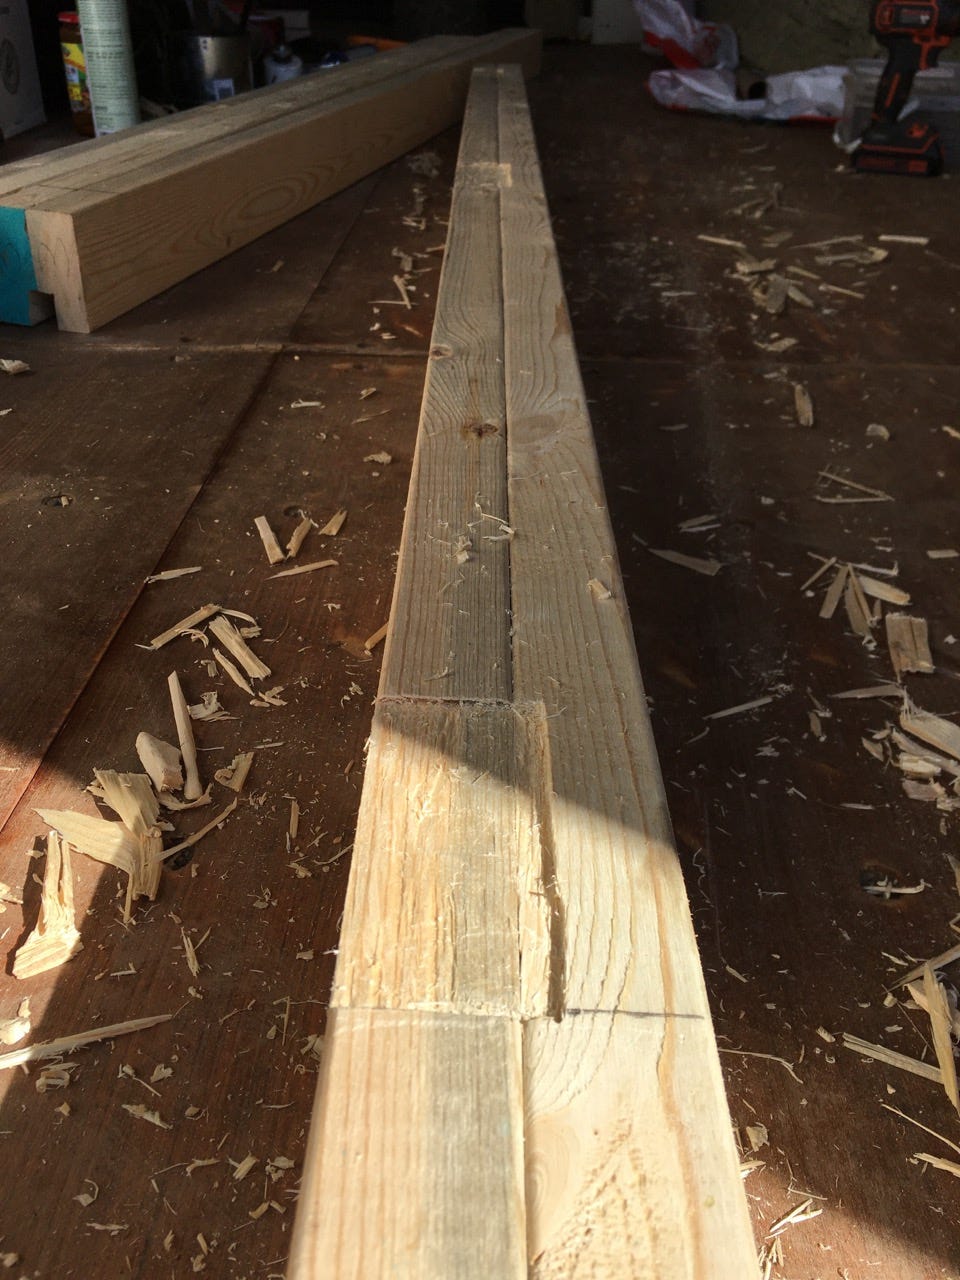
It was at this point that we bought a portable sawmill, and we’ve never bought lumber since! One amazing thing about milling your own wood is that you can make whichever size you need, so we milled 1/4-inch thick boards for the interior walls. One less amazing thing about milling your own wood is the learning curve. It’s steep. There’s a lot to know, tons of variables and, just when you think you know a thing - it’ll mess with you. The wall panels were a lesson in how much wood shrinks! I’m sure we’ll re-make them in the future.
Ventilation
The steel container has 8 vents built into it. We piped 2 of those vents through the walls for fresh air. When we started sleeping in the container we hung a little strip of paper in front of the vent - just to know that air is moving! We left the other vents open to the inside of the walls to prevent condensation. We also cut two vents in the floor, and one above the door. This has turned out to be overkill, and we close off the one above the door in the winter. To my surprise, condensation and moisture haven’t been a problem to this day.
The Wood Stove
The wood stove came from the end of a driveway years ago. It was one of those things - I didn’t need it, but I knew that I would someday. It’s way too big for the house and we spent the first winter overheating ourselves regularly. Planning where to cut the hole for the stovepipe took some thought. If it went through the ceiling it would find a way to leak. Putting it through the wall made more sense.
Framing the Door
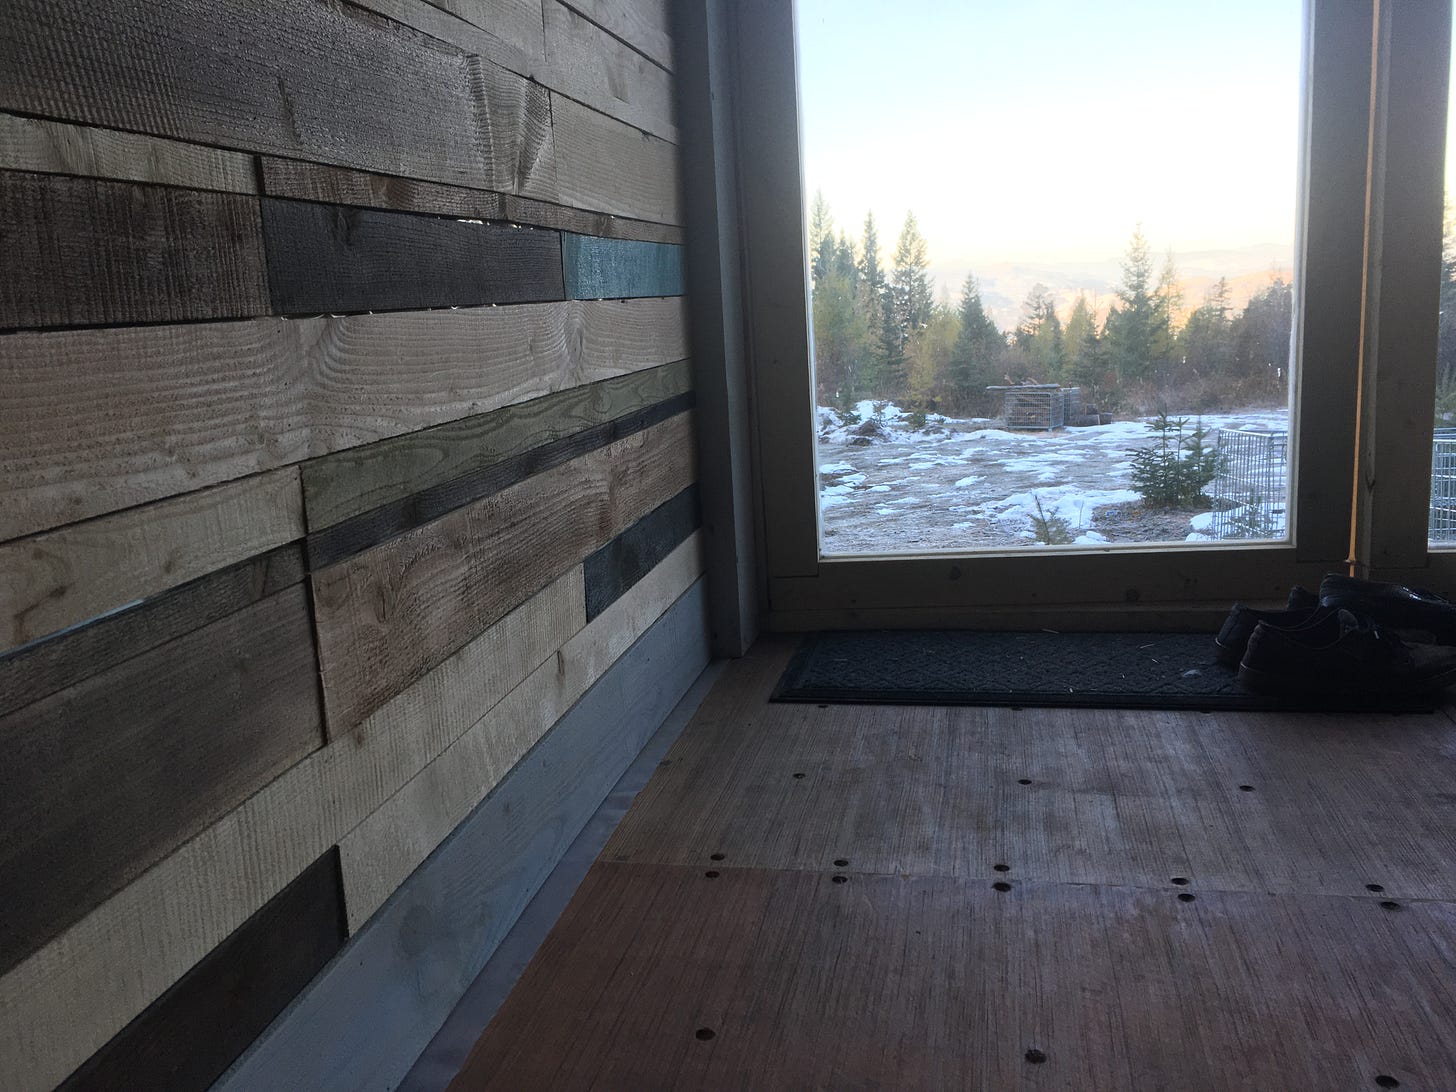
We repurposed an old sliding glass door, making it into HUGE french doors. If the panes were any bigger it couldn’t have worked! Curt cut grooves for the panes to sit in, while I chiselled out places for the hinges. We were both fully ‘winging it’ so I’m glad that it came together. This provided the <150 square foot house with lots of natural light.
The Floor
The original container floor is made of mahogany plywood. I love it- but they’re often treated with harsh chemicals. So, we sealed it with a few coats of polyurethane. Something that we have yet to do is insulating the floor. I think we are both afraid to get under the container. As the house warmed up and the thick mahogany dried, gaps opened up between the 10 large pieces that make up the floor. Putting down a carpet helps, but the floor is still cold. Once the snow is so deep that it goes up the sides of the container, it acts like insulation!
The Kitchen
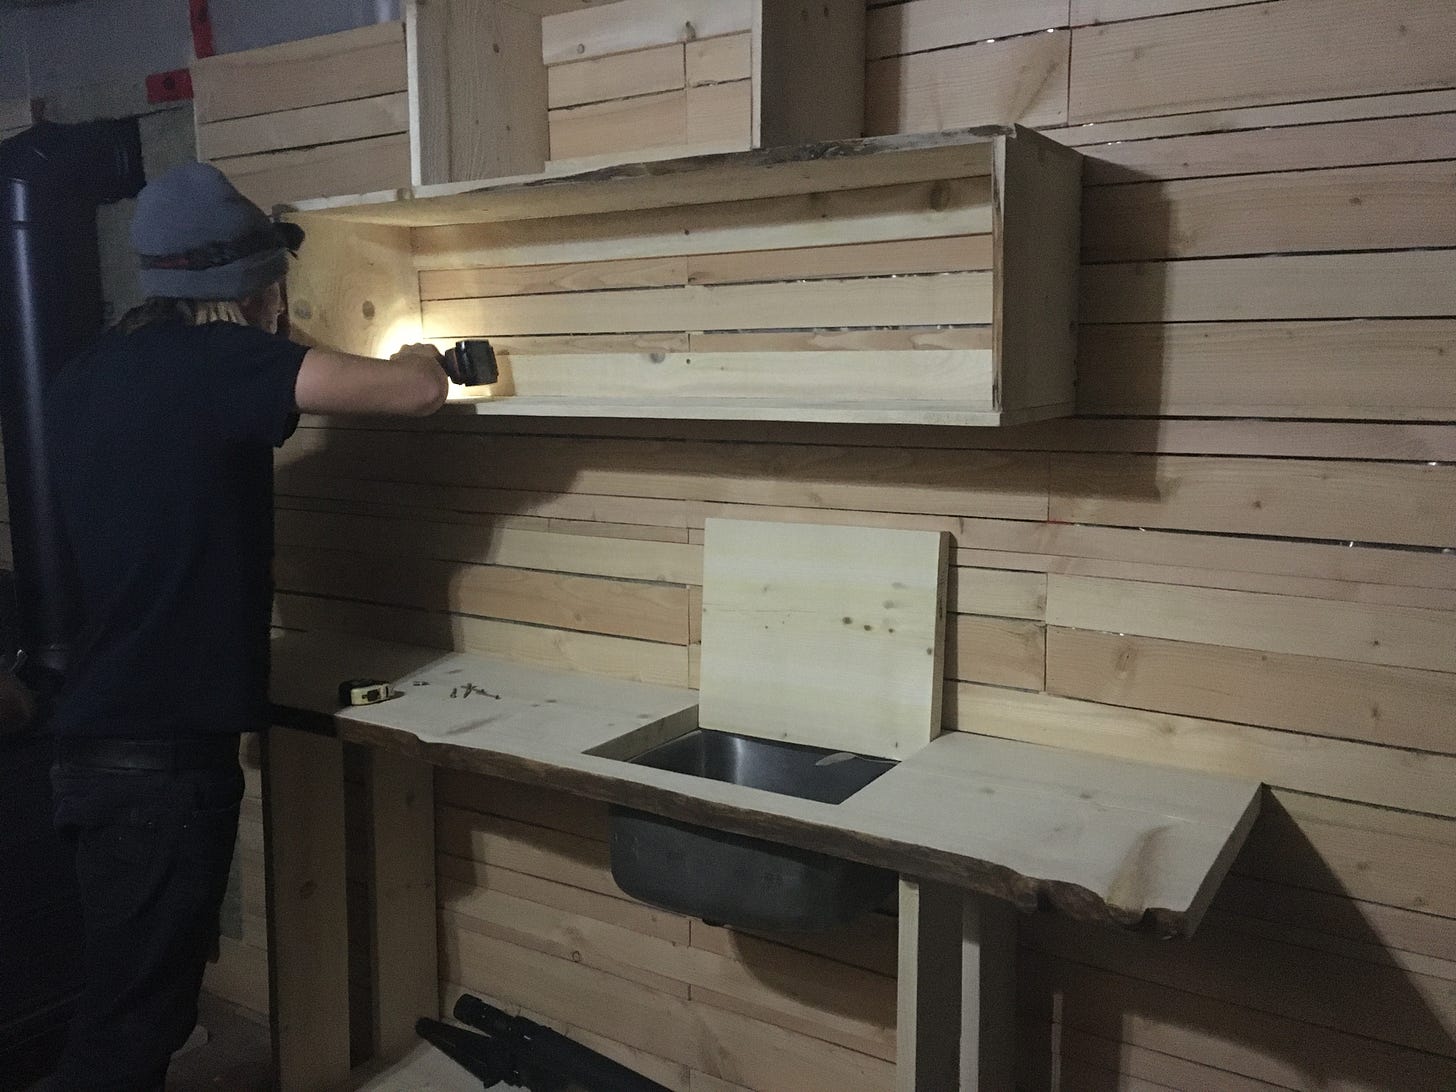
We made the kitchen out of live edge fir, which we’ve since replaced. It turns out that balsam fir STINKS - especially when wet. Who knew?! For the first year, it worked well. The sink drained into a bucket which had to be dumped by hand. We put one small hole in the floor for a propane line. We used a normal 2-burner propane stove intended for camping- I loved it! The consistent heat of propane is WAY better than the electric stoves I’ve used before.
The Bedroom/Storage
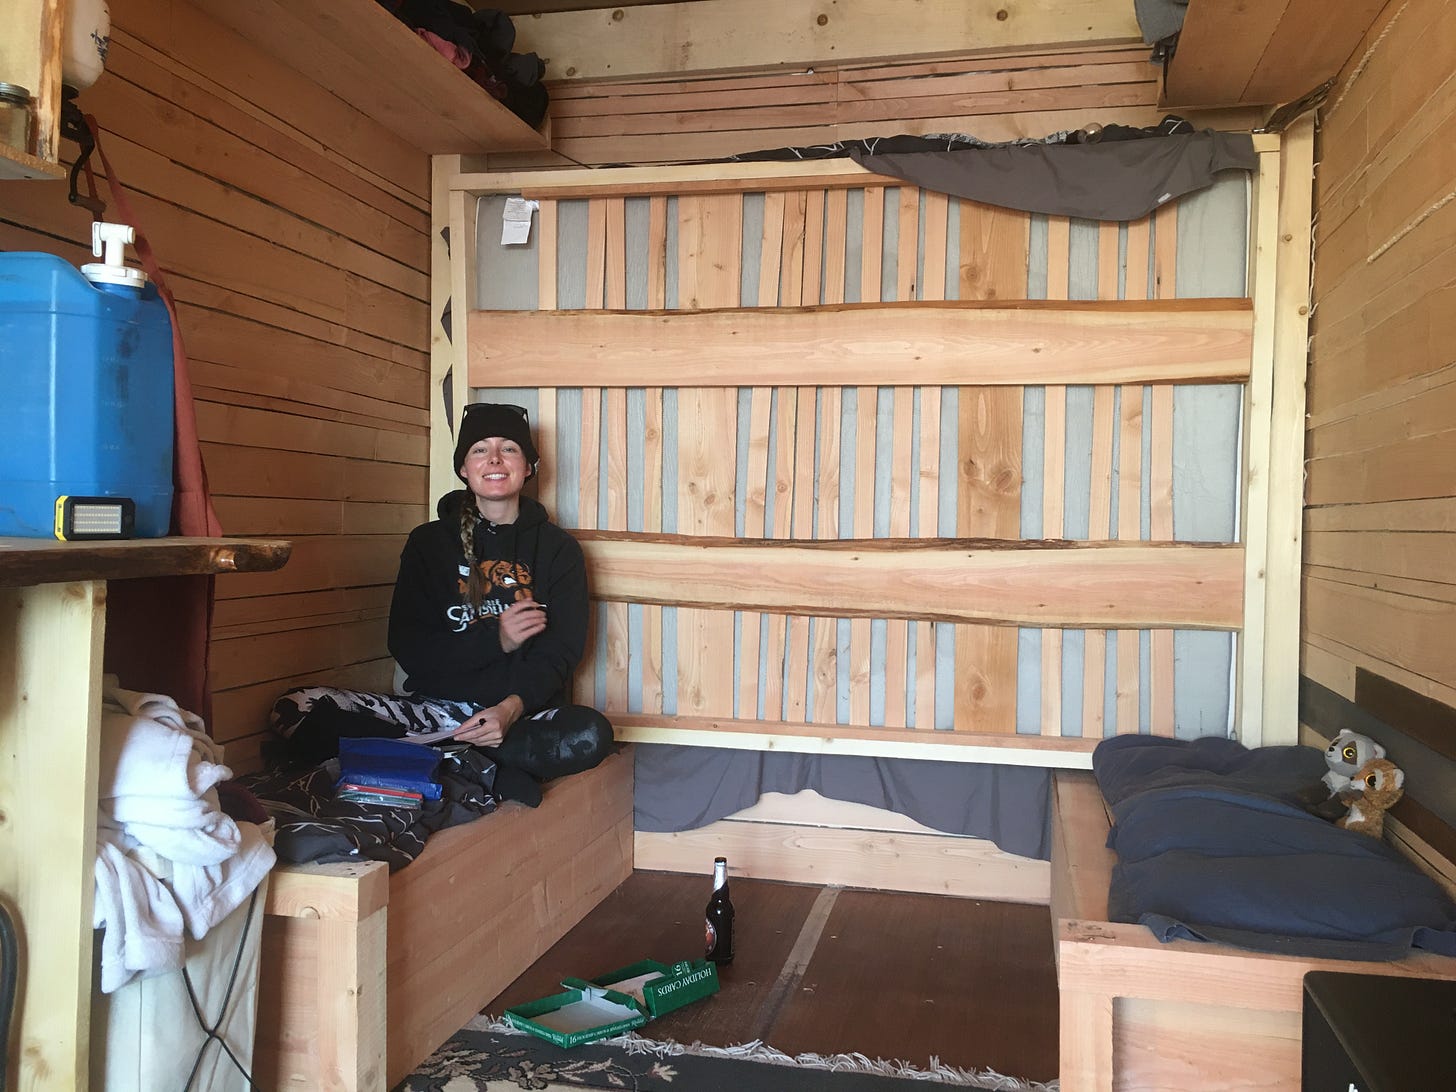
We built a flip-up bed frame in the back of the container. When flipped down, it rested on storage boxes. Though a bit heavy, it worked. It made for a great place to sit and hang out too. One of the storage compartments was situated over a vent in the floor, making it an excellent place to keep food cool. We’ve since changed it to a loft bed, which I like a lot more!
Levelling the House
On a warm sunny day, we finally finished levelling the house. We used jacks to lift it and sat it on huge wood rounds. Knowing fully that’s the ‘wrong way’ to do it, we did it anyways. They’ve lasted over two years, but we’ll likely replace them this summer.
The whole project cost less than $10,000 (CAD) including delivery of the container. We’ve lived in it full-time for three years, loving every minute. The bathroom is an outhouse, and likely always will be. Because shipping containers are prone to moisture issues, the shower was a separate room outside. The kitchen has since changed, including plumbing the drain outside and into a very simple septic-style field.
I’ve made lots of mistakes along the way, but with every mistake, I hope to learn something. Check out ‘The 3 Biggest Mistakes’ to hear about the worst ones!
Comment, Subscribe, and Share with your Friends!


