


February on the Mountain
Cold, Dark, and Busy!


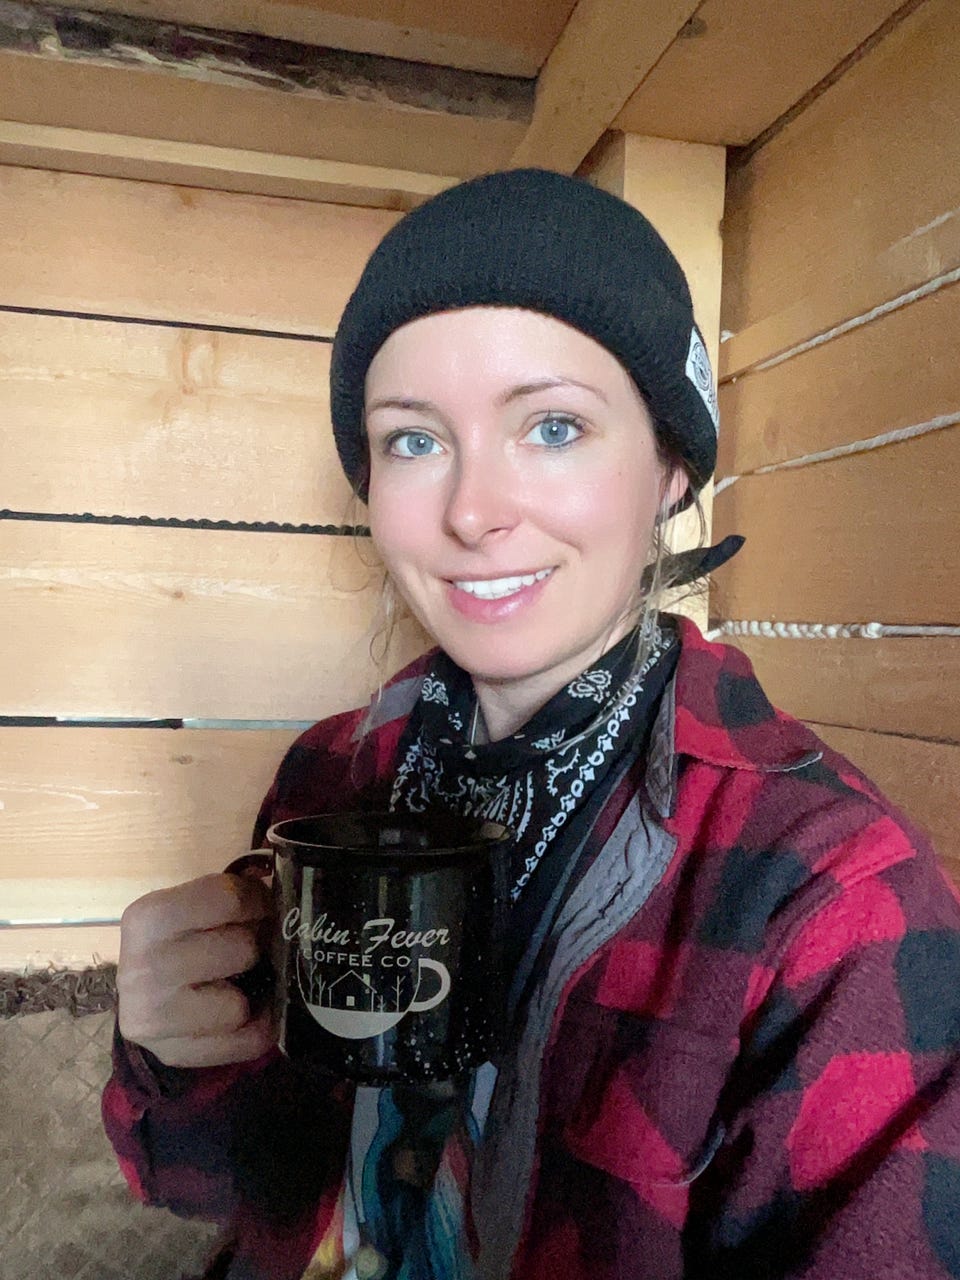
February is a strange time. The days are dark, cold and short. Most people feel that seasonal ‘blah’ in the winter months. Out here those short, dark and cold days have a little extra ‘blah’. Not much solar power, dim lights and Sunset as early as 4pm.
However, by February the days have started to get longer. It’s now depressing but with touches of optimism! This January started out the year very different than last. Less snow, and generally warmer weather (cold snaps aside) has made it possible to do some work on projects. Months ago we milled and set aside wood with some loose plans in mind.
Some assembly required
Kitchen Reno
The original plan was to replace the kitchen with cedar. As we talked about the whole scheme we decided - this is the time to lift the bed. Making it into a loft bed! Enough space to sit upright on top. Space below for a pantry and sitting area. This adds 30 square feet to the house, making the 130 square foot space into 160!
I’m sitting on a bench UNDER the bed!
On to the cedar kitchen. I de-barked the posts that would be the legs. Since we don’t have a log peeler I used a machete. Carefully. It worked surprisingly well! We cut and sanded all of the pieces. Doors, framework, counter. Ready for assembly, we brought the pieces inside and the water-based polyurethane to seal it with. A project stopping problem presented itself. The polyurethane had frozen and was ruined!
A trip to town was now on the agenda. We packed up our snowmobiles and rode to where the truck is parked at the nearest neighbours. At the small hardware store in the nearest town we stood at the shelf for what must’ve been 20 minutes. Convinced that we were out of luck, I spotted on the bottom shelf one dusty can. Water based, off brand urethane. This should do the trick! The next town is 50km each way, and a trip I’d rather not have to make.
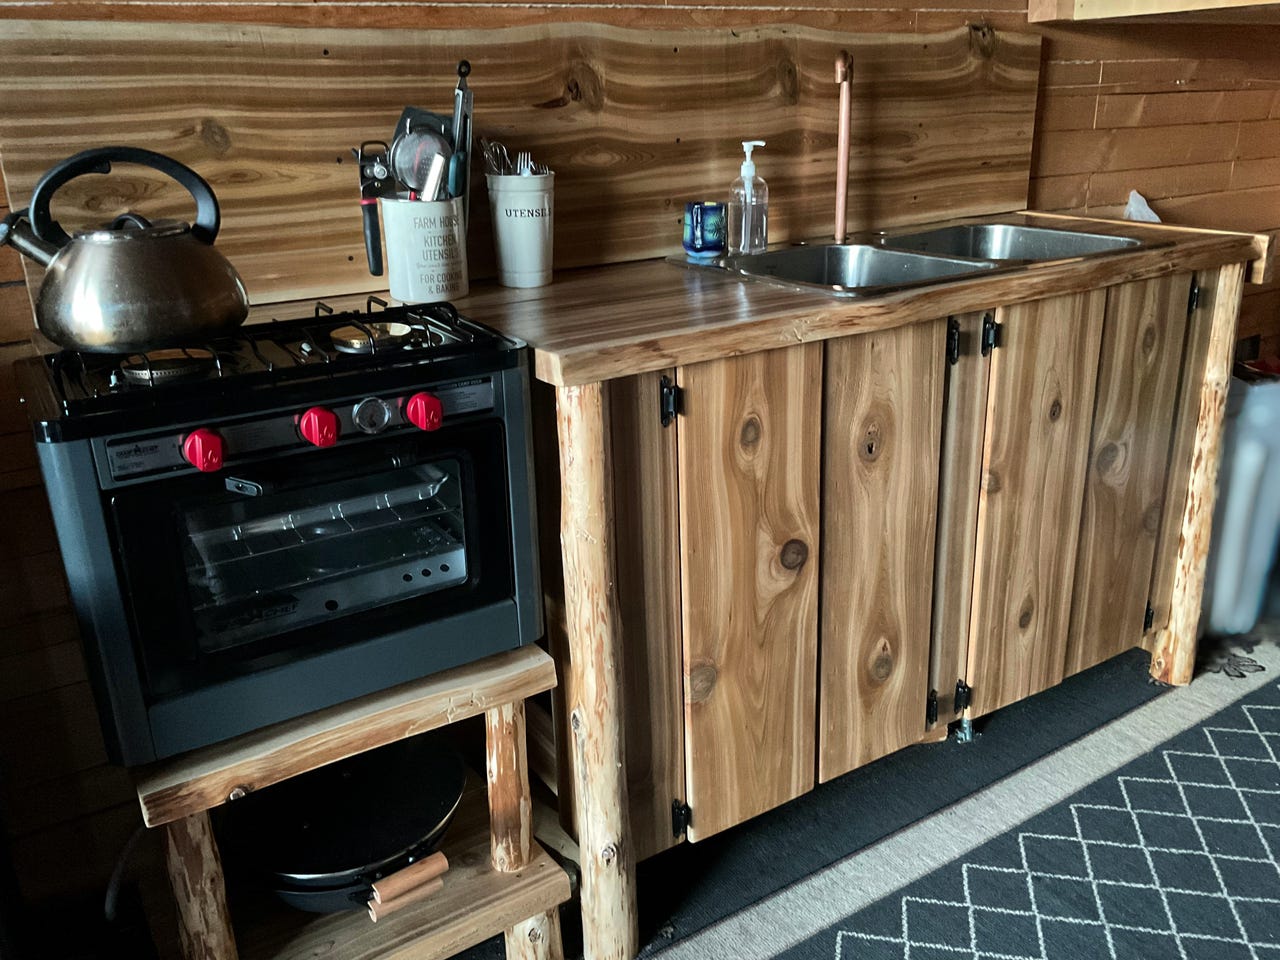
After bringing back the can of urethane in a backpack, we spent a couple of days coating the pieces. Special order hinges made for another trip to town and the cedar kitchen is finally complete.
Learning to scroll saw
I bought a used scroll saw at the auction. After some tinkering and maintenance it was time to try making something. The original door handle in the house had begun to fail and an opportunity presented itself. I cut three pieces of wood into the same shape. Broke a blade, and replaced it. From what I’ve read that’s how you learn to set your scroll saw blade tension, by breaking blades.
I then glued the three pieces together. White coloured balsam fir on the outside, and pinkish Douglas fir in the middle. I sanded the whole thing smooth, and sealed it with the urethane. Not bad for my first scroll saw project!
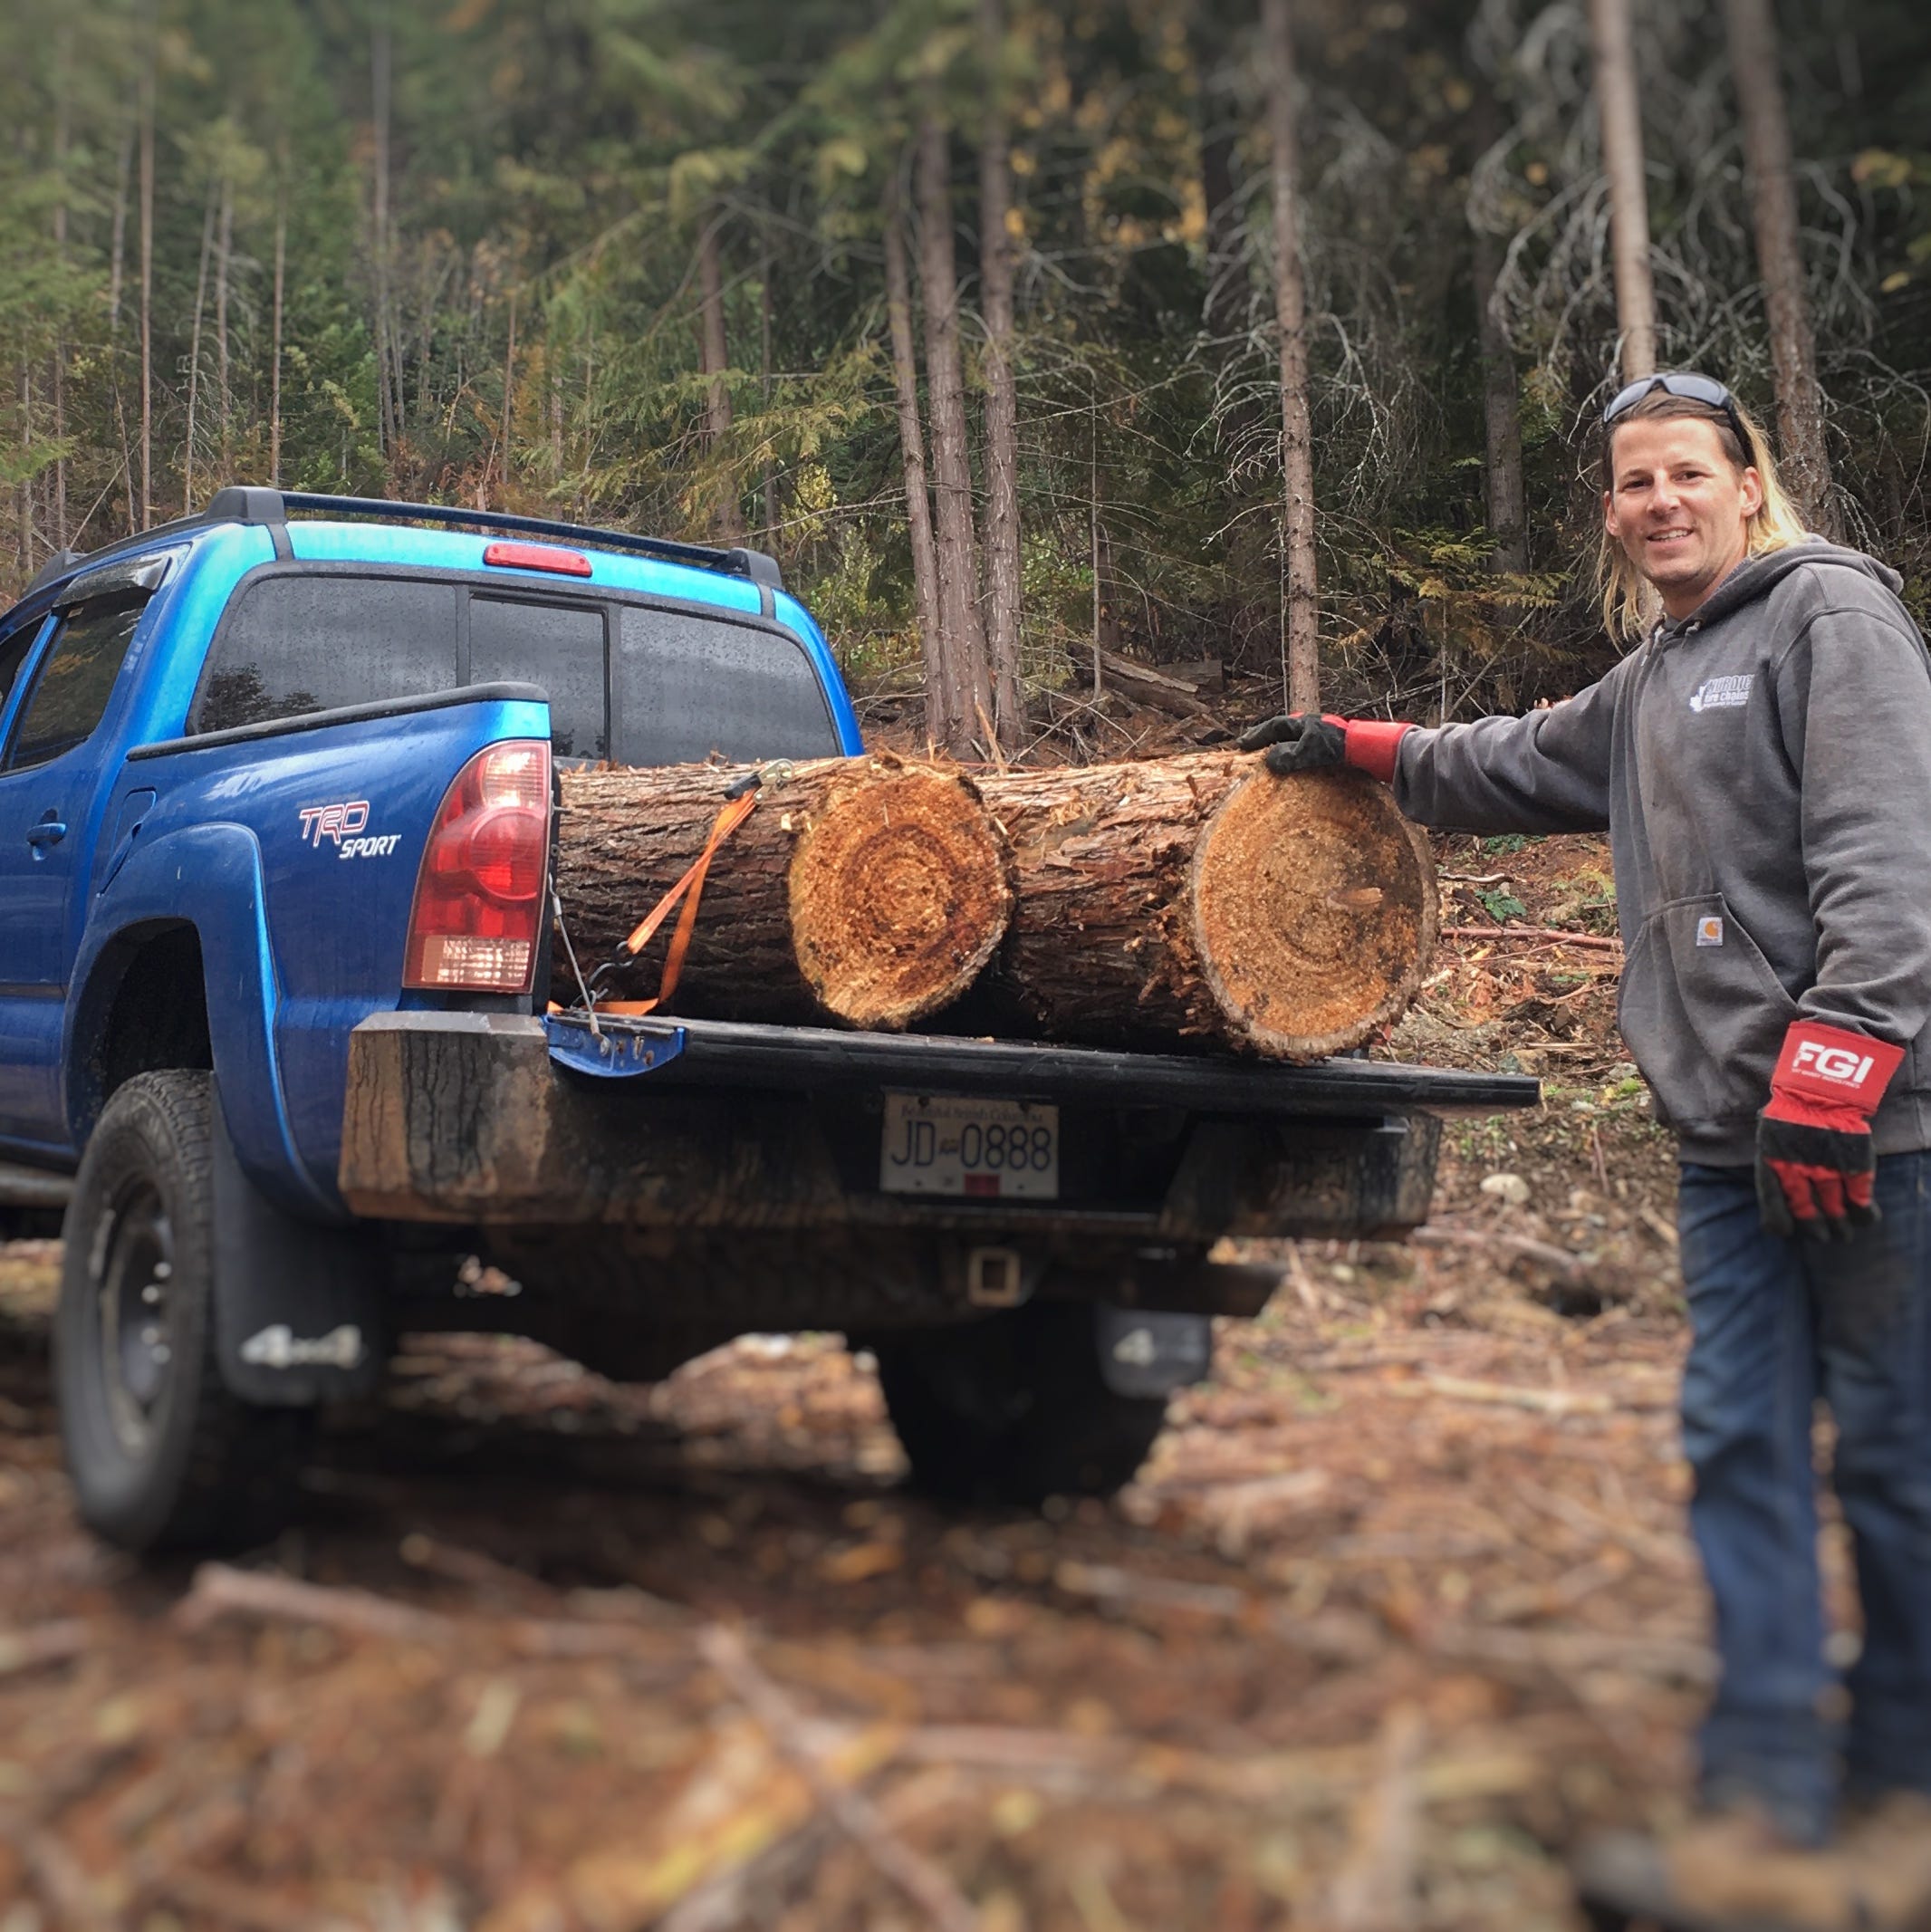
Snowshoe Hiking the North End
I received a call from a logging company. They’re going to be logging the crown land on the north side of the property. So, time to go check out the area a bit before the trees are gone. We hiked to the top of the property then dropped straight down. Off of the property and into the bigger trees. From old maps we know there’s a road in there somewhere and we were hoping to find it.
This tree must’ve been 4 feet across!
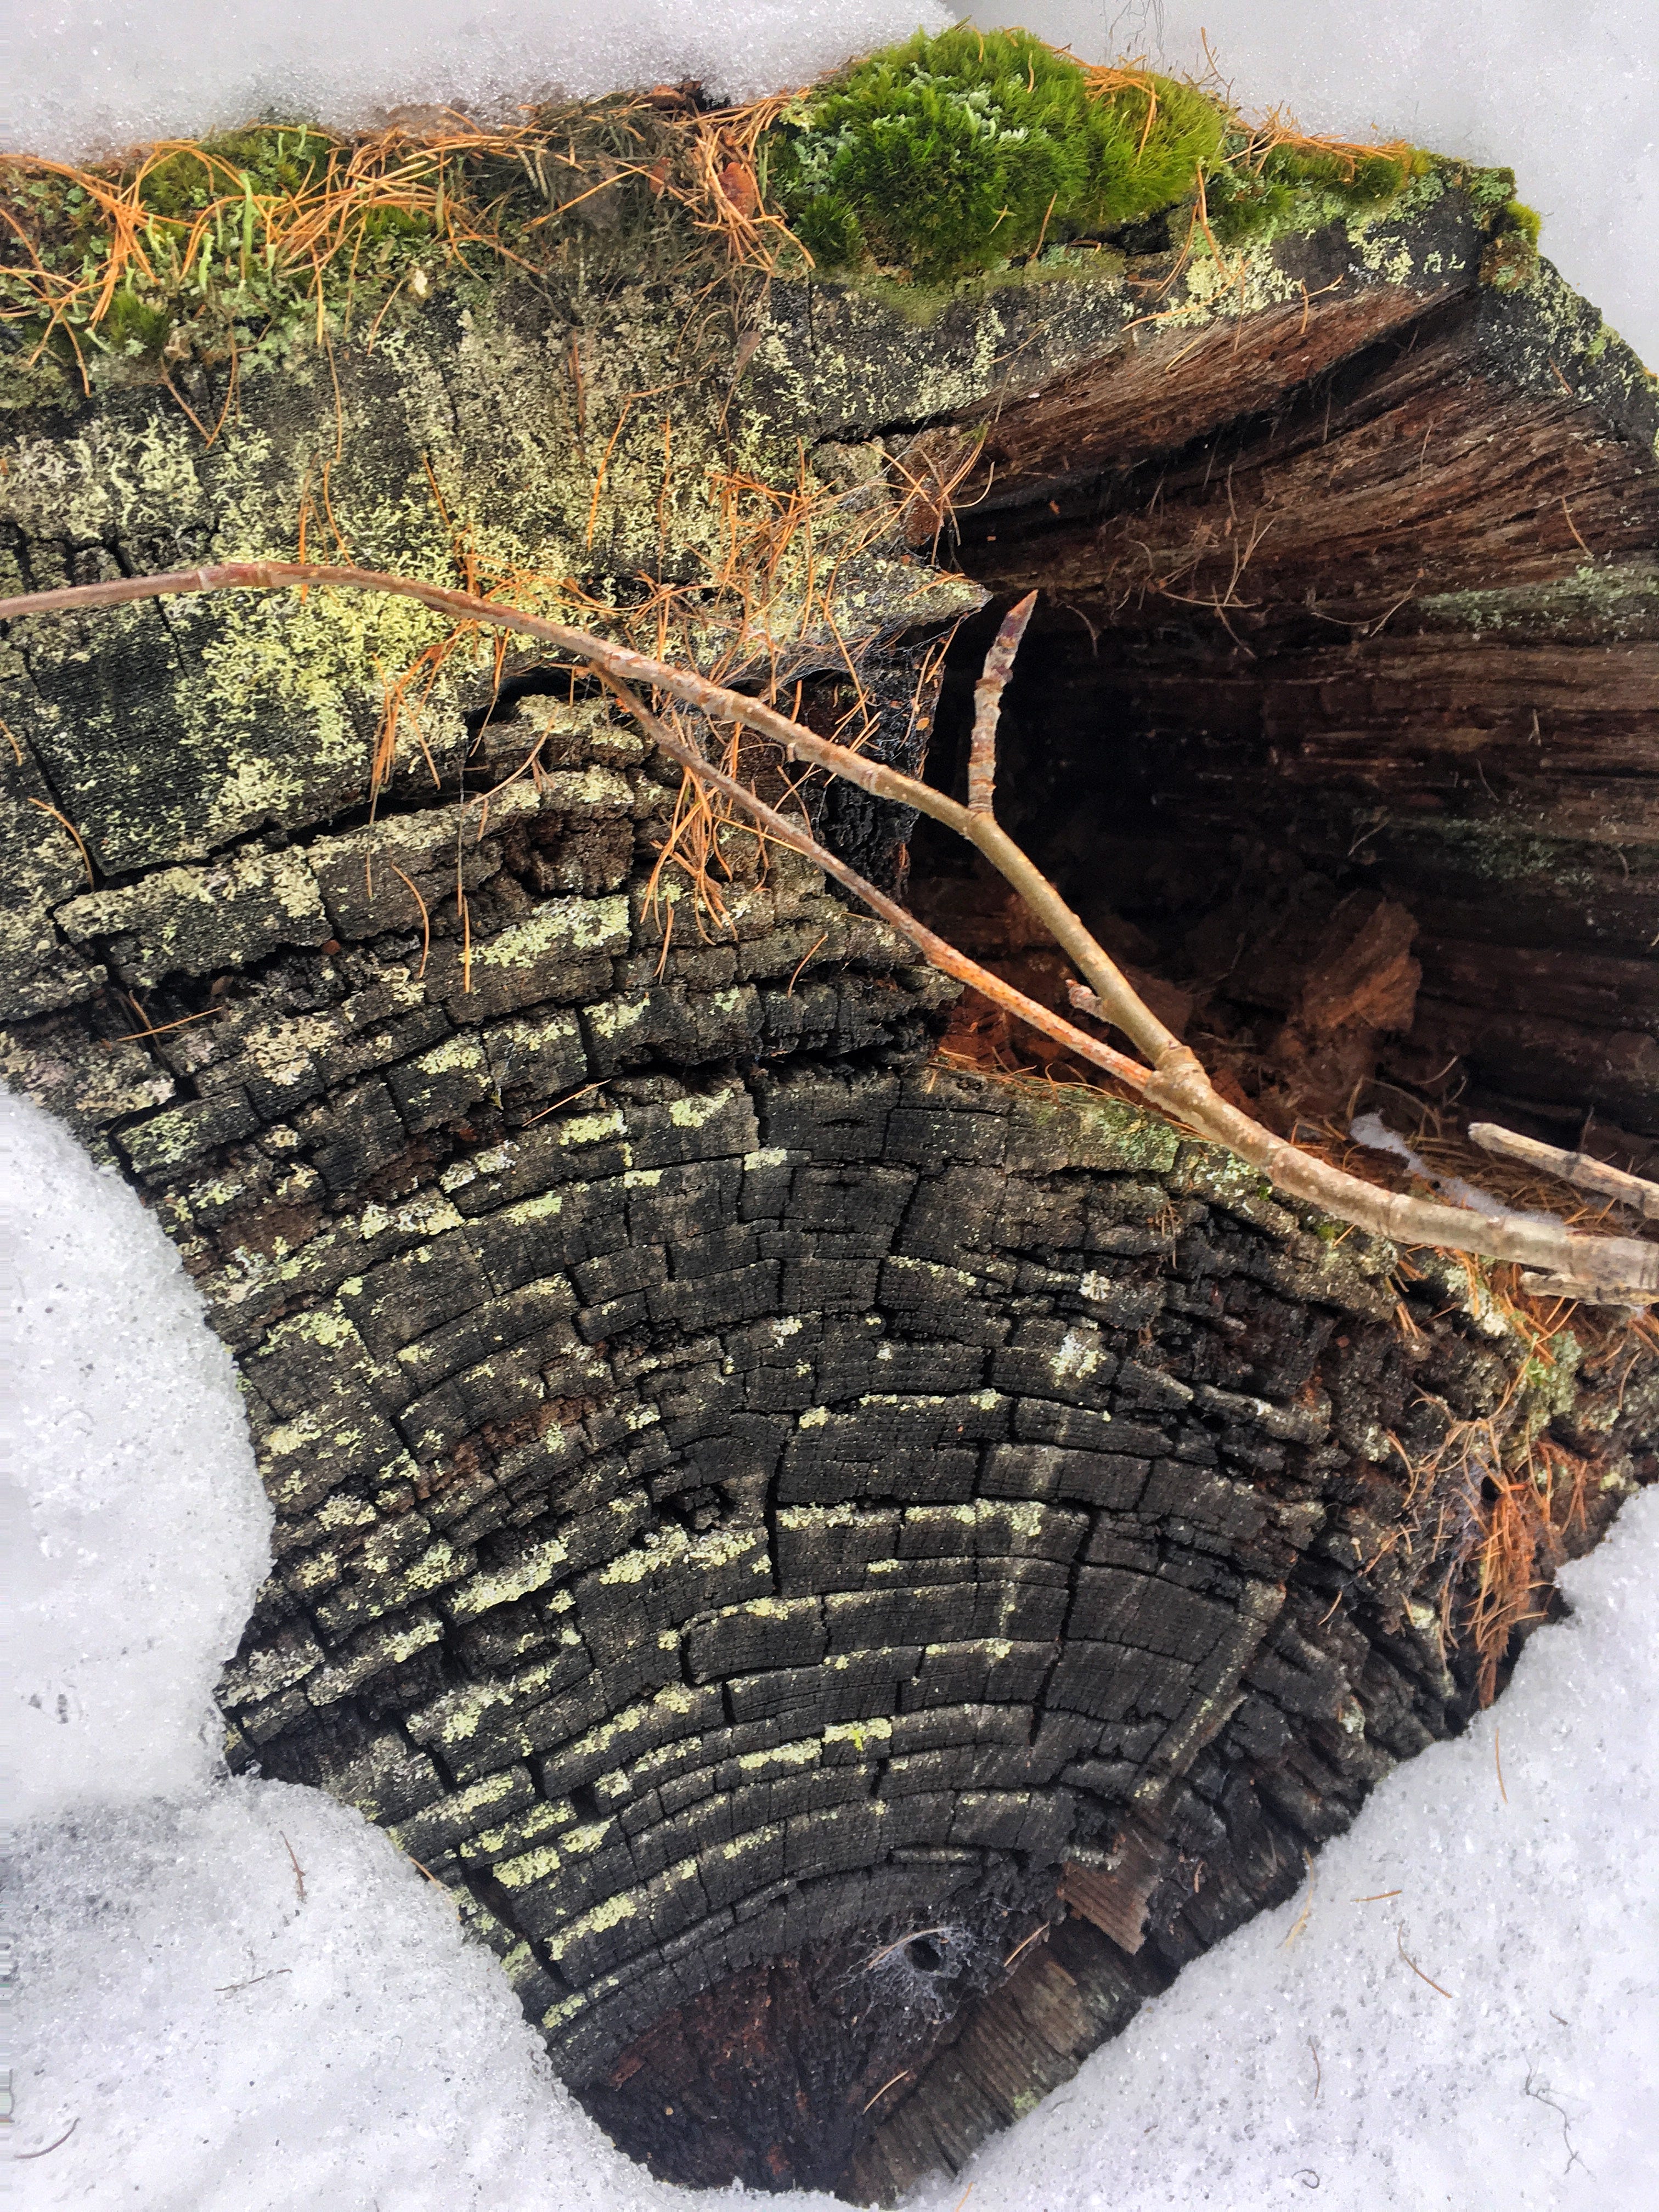
After some wandering, we found what appeared to be the road! Though entirely grown in, you can tell that it’s a road because the trees that are on it are mostly vine maples and alder. The road base is too hard for conifers to grow quickly. So, the shrubby trees take hold. We follow the road to where we know that it meets the corner of the property, admiring some massive stumps along the way. It’ll be a bittersweet thing, having them log the area. On one hand the trees will be gone. On the other hand, it’ll create a great firebreak for the future.
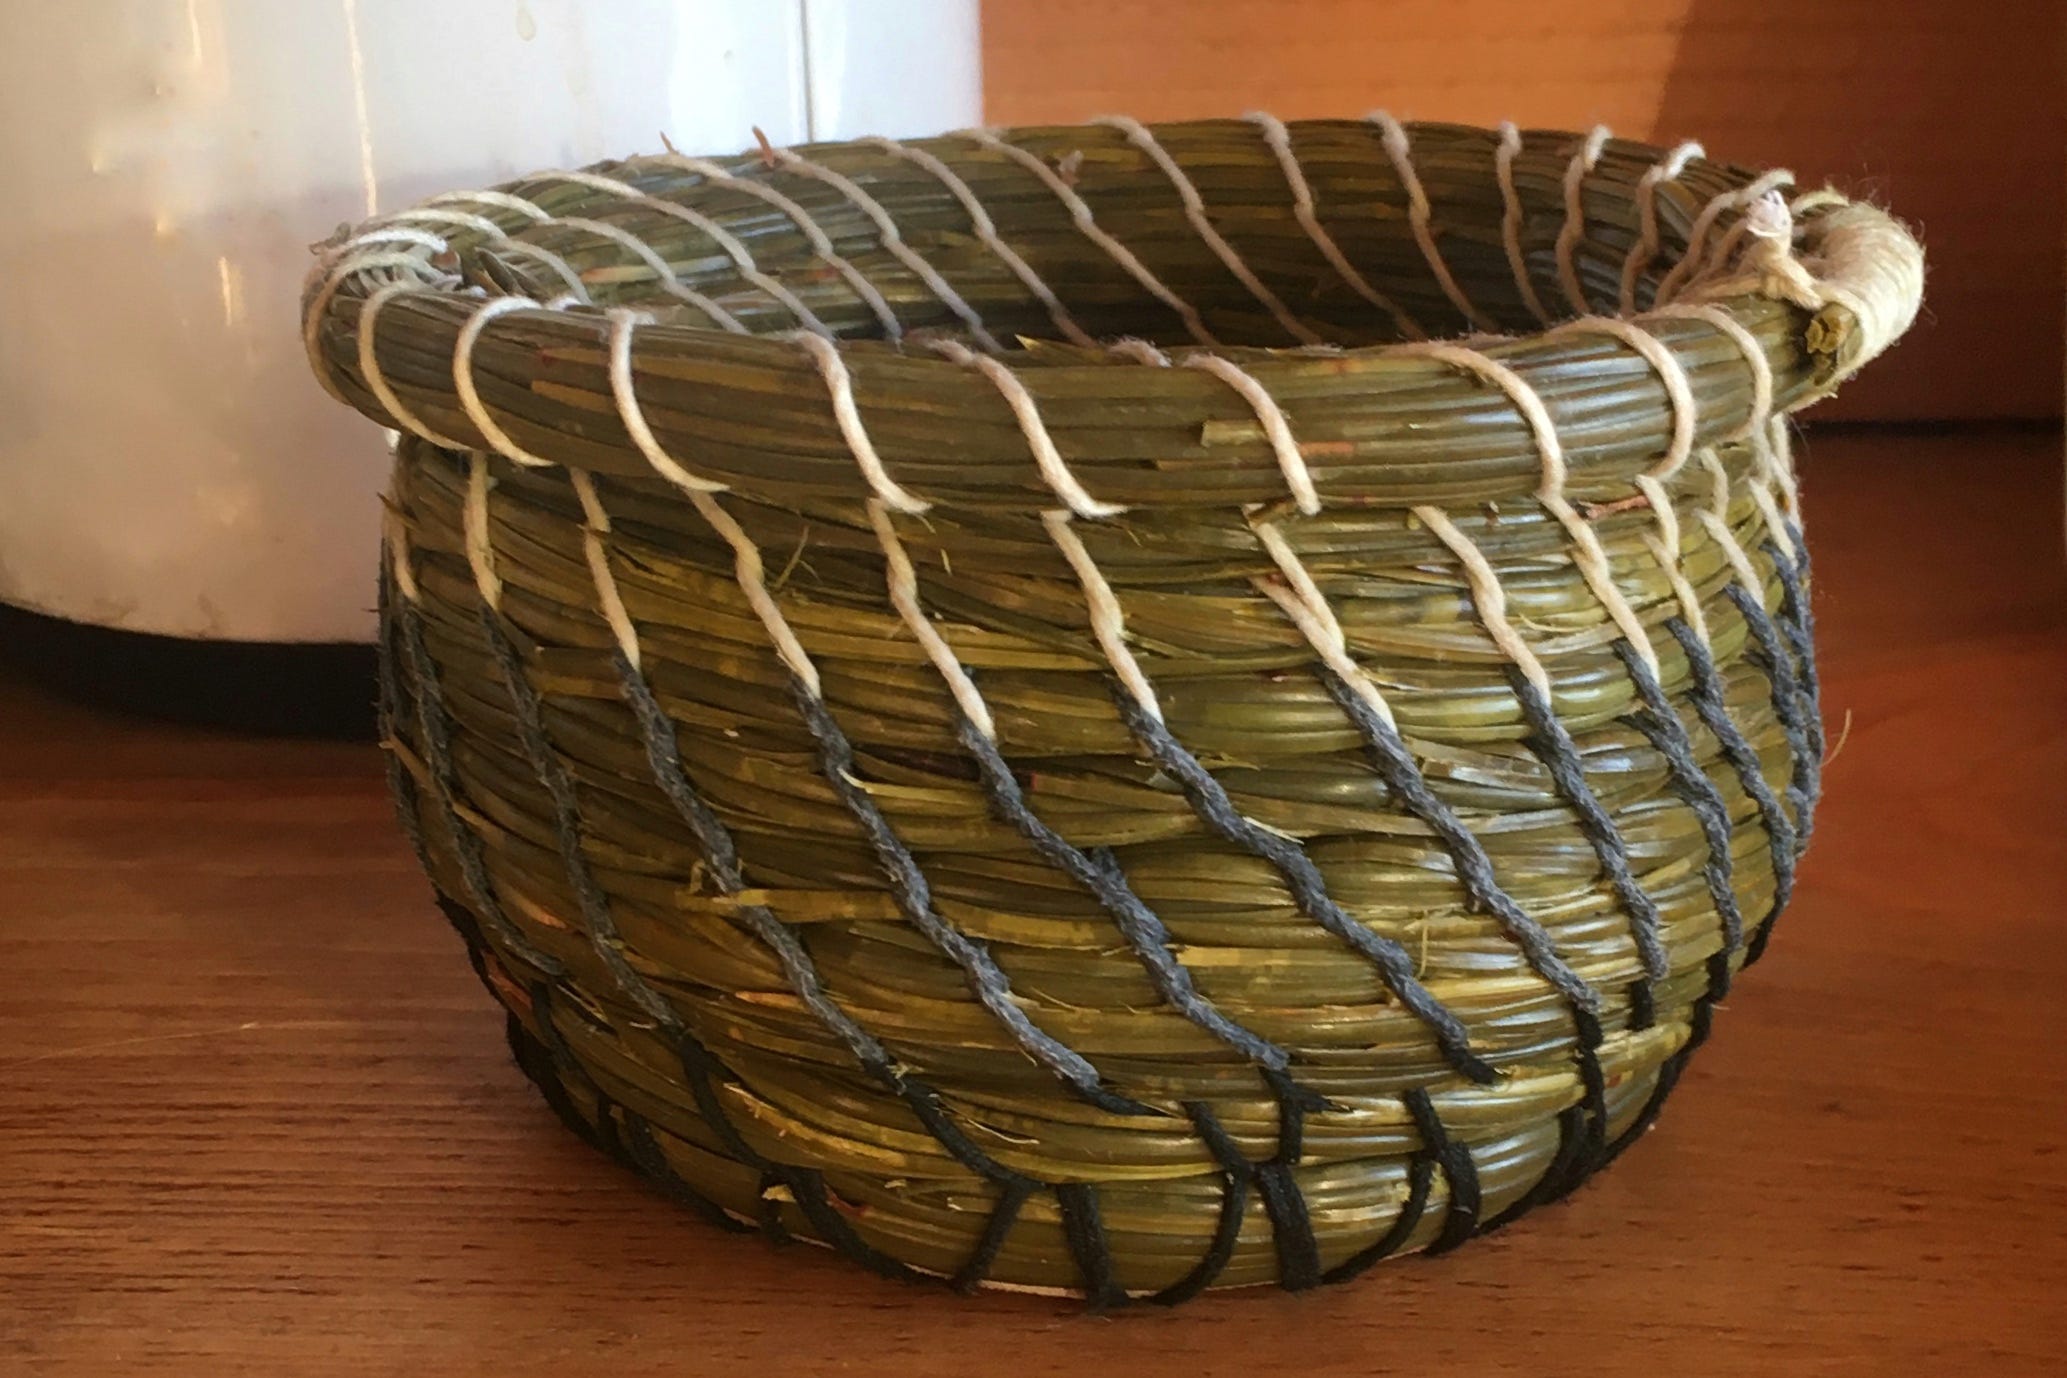
I also made this basket out of Ponderosa Pine needles

Beautiful work.
Skills