


Tanning Rabbit Hides
Animated - for the Curious but Squeamish

Here’s a detailed explanation of how I tan my rabbit hides. If you’re squeamish, don’t worry, I’ve made cartoon animations!

This is what works for me - there are lots of different methods and differing information online. A lot of variables such as climate play a role in how your hides will turn out. I’ve chosen to do a salt and egg yolk method for a few reasons; because of what’s available to me, to use less water, and I prefer to not use harsh chemicals.
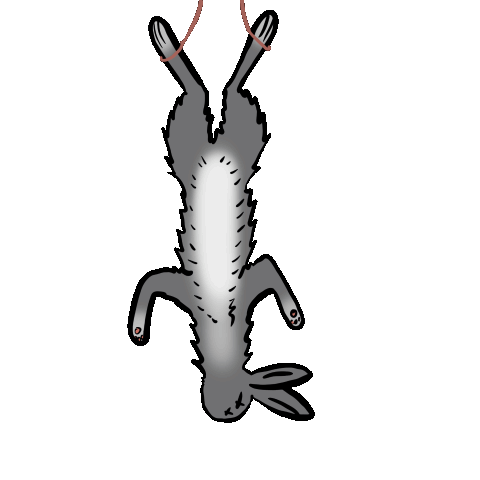
Procuring the Hide -Case Skinning.
To keep a hide in the ideal shape I prefer ‘case skinning.’ That means that it’s pulled off in a tube shape with openings where the feet and head are removed. If you don’t farm rabbits yourself and are getting hides from a farmer I recommend asking them to provide them ‘case skinned’. That way you have more control over where it’s cut for symmetry. It also creates less edges which I find easier for de-fleshing.
I then freeze the hide until I’m ready to start the tanning process. I also find that it makes the next step slightly easier.
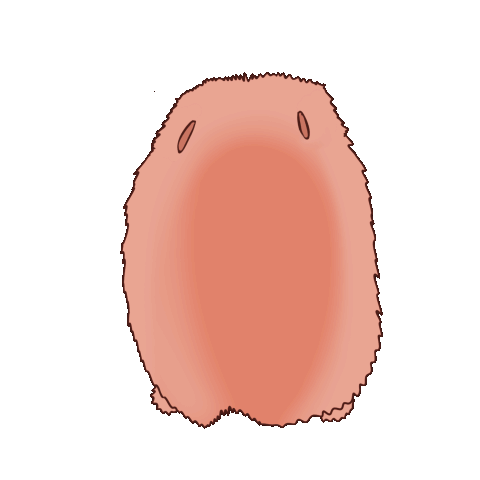
De-fleshing
This is the ickiest part. During skinning, some flesh comes off with the hide. That flesh needs to be removed. If left on, it would rot and stink and ruin the hide. Defleshing leaves the skin bare (the inside, that is). And ready to become leather.

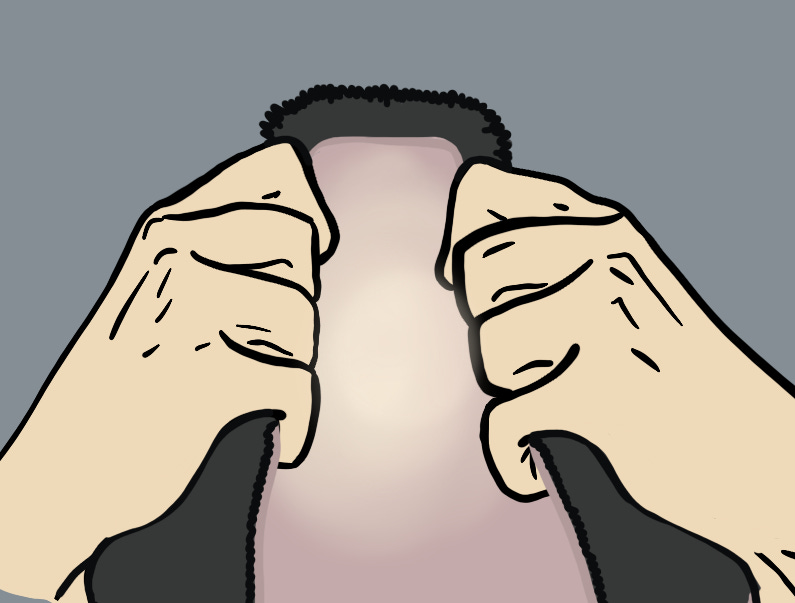
Salt the Hide
I find the best way to do this is by hand, using both hands for leverage and coarse salt for extra grip on the flesh. The flesh has a slimy texture while the skin feels somewhat dry. Sometimes scraping with a dull blade helps to get tougher areas. I then put more salt (pickling, not iodized) on the skin and leave it overnight. I like to think that this step is a good way to kill germs using salt.
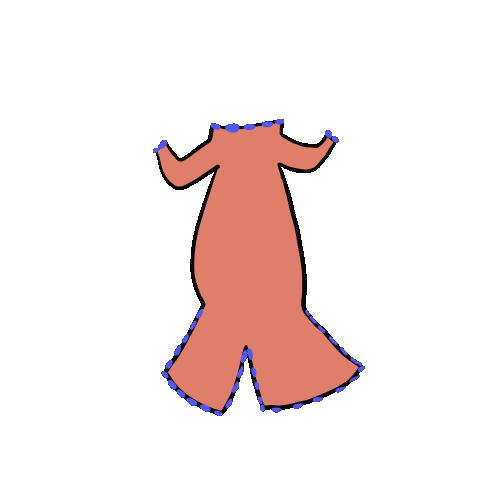
Egg Yolk
The next day (or two) I rinse off the salt and open the hide. Cutting from the neck down to where the hind legs meet. I follow between the nipples to try to get it as symmetrical as possible. After laying it out flat, I thoroughly coat the skin with an egg yolk, maybe two. Over the next couple of days the egg yolk reacts with the hide, making it into a thicker leather. I’ve tried skipping the egg yolk -just to see why it’s done, and it really makes a difference! Without it, the hides turned out extra thin and impossible to make supple.
Washing
I then wash the hide with a nice-smelling shampoo. Thoroughly, both the leather and fur sides making sure to get all of the yolk off. I gently squeeze it as dry as possible, sometimes I’ll wring it carefully. I’ve never torn a fur wringing it but it seems easy to accidentally do. From there, drying is a gradual process. If I hang the fur over something like the back of a chair it can be problematic. You have to be mindful that it’s drying evenly.
Drying and Stretching ‘Breaking the Hide’
This step takes some patience. As the hide dries it’s important to stretch it -I do this by hand. It’s both tedious and satisfying because as it ‘breaks’ it turns white and starts looking like actual leather! I’m careful around the thin edges, though I often overdo it, tear the hide and have a tantrum. Once it’s nearly entirely dry, finding an edge to run the hide over is helpful. I’ve recently had success with doing this on the edge of one of my water totes.
Sealing and Waterproofing
To keep the hide soft and supple, people will often use mink or neatsfoot oil. Because I’m using things that are more available to me - I don’t. Instead, I use a beeswax polish that I made. It’s not perfect, but I also prefer it because it leaves my hands soft and supple too! I don’t love the thought of having mink oil on my hands. It is literally the oil of a mink.
I haven’t experimented with waterproofing hides yet, but I know that a common method is to smoke them. I’m looking forward to trying it soon!

Sounds like the method would work well for any animal hide.
Who would have thought an egg wash would thicken the hide!!! Well done.